There's been some discussion over on the Sandbox lately about photo lighting, prompted by a photo-lighting article in the magazine Fine Scale Modeler. Their techniques emphasize seamless backdrops and defuse lighting. My take was that while this technique works well enough and shows well the details of whatever you're photographing, Joe-photos often benefit from more dramatic lighting.
One friend e-mailed to tell me that the FSM techniques were used by the "Twisted Toyfair Theater" feature in
Toyfair magazine. Good enough. But those features are played for broad comedy and emphasize that the things being photographed
are toys.
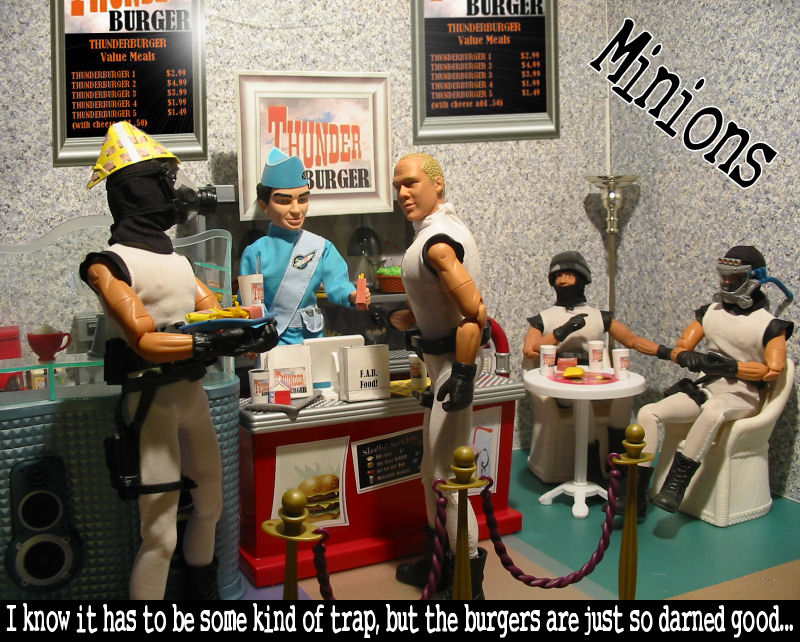
Different lighting techniques can increase realism and enhance mood. To illustrate, I set up some very quick examples of how lighting can greatly change the mood of the shot. I set up a random assembly of my "Minions" figures and some props. (Actually, most of them were already there. I just removed a few things and reposed the figures a bit.)
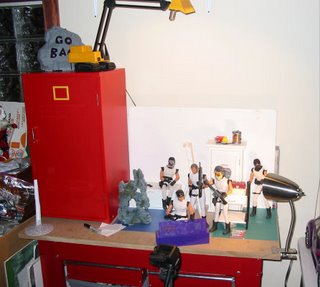
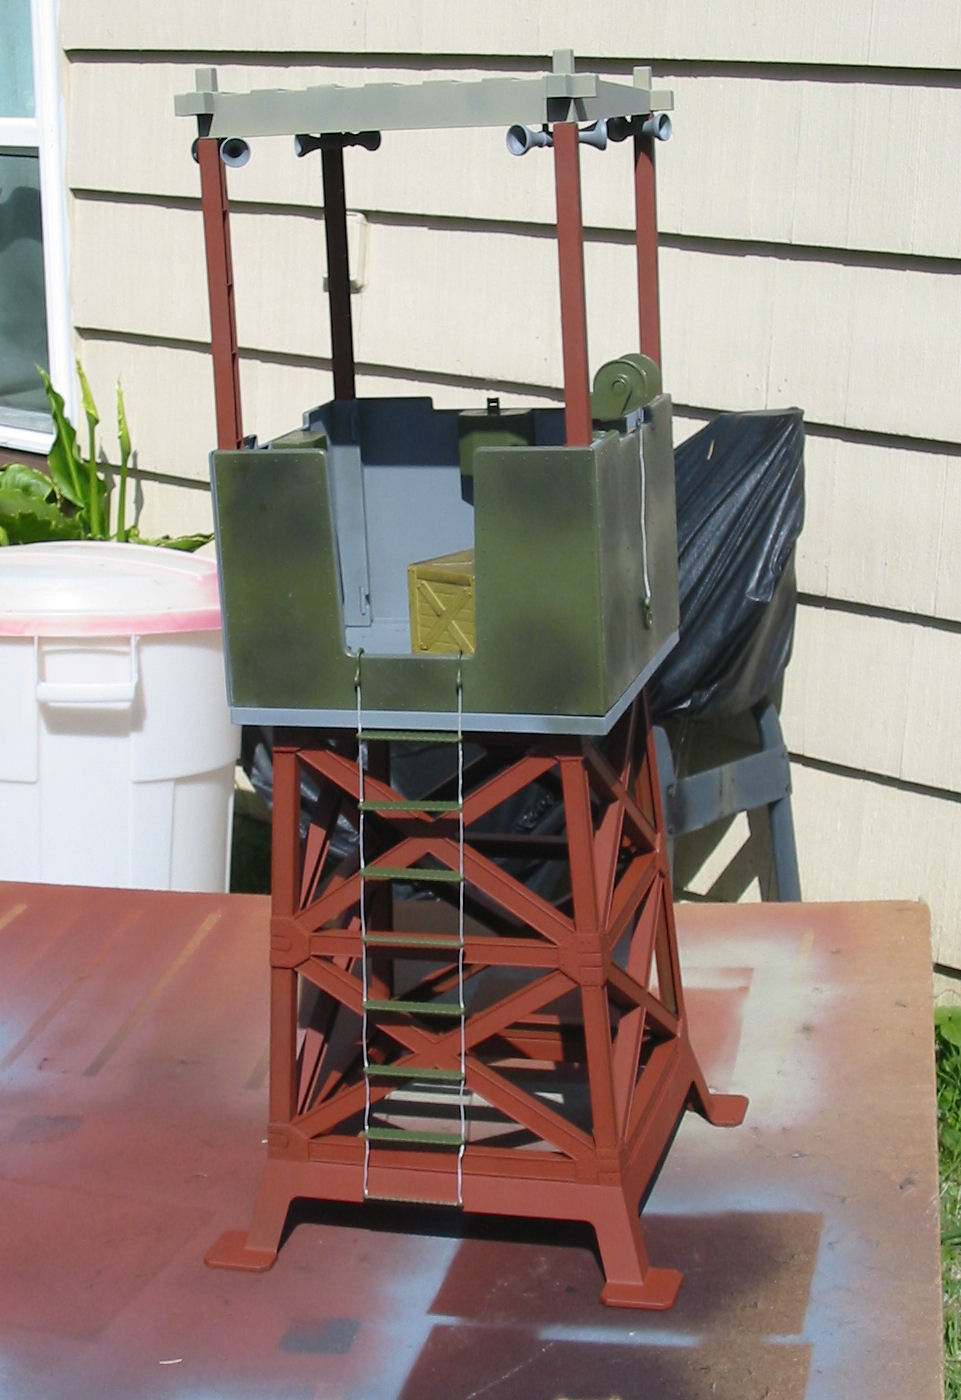
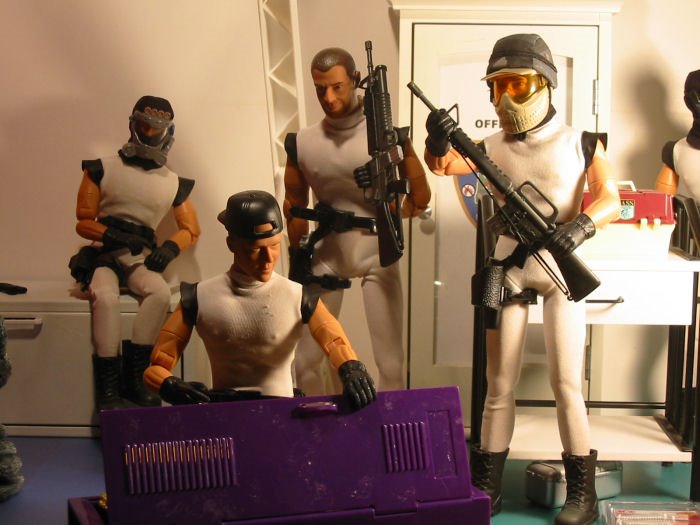
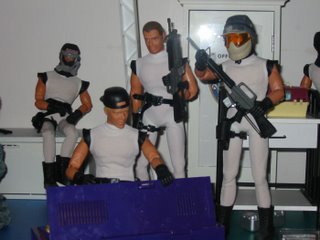
This first shot shows the setup on my bench. There are two main light-sources, a high-intensity arm lamp on top of the cabinet to the left (yes, it looks like a back-hoe) and a small incandescent (60w) goose-neck lamp clamped to the table. The lights are on in this shot, but largely washed out by the on-camera flash.
The flash was turned off for most of these shots, as here. You'll see why we turned off the flash in a minute. Since my lighting sources aren't very bright, all of these shots are long exposures (which my Powershot A40 handles very well, though not all digital cameras). For that reason, I used a solid tripod and a ten-second shutter delay (so as to avoid camera-shake when I pressed the button). I like time exposures, as they keep the lights low-power and low heat. They also allow for some nifty tricks if you know what you're doing.
As for camera settings, other than the things I've mentioned (flash-off, shutter-delay), I let it handle its own exposure settings. It does a good job, though you could get different results by fiddling with them manually.
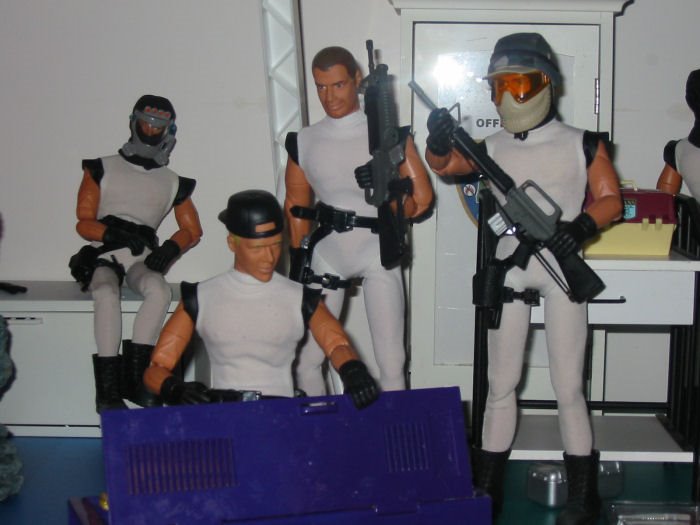
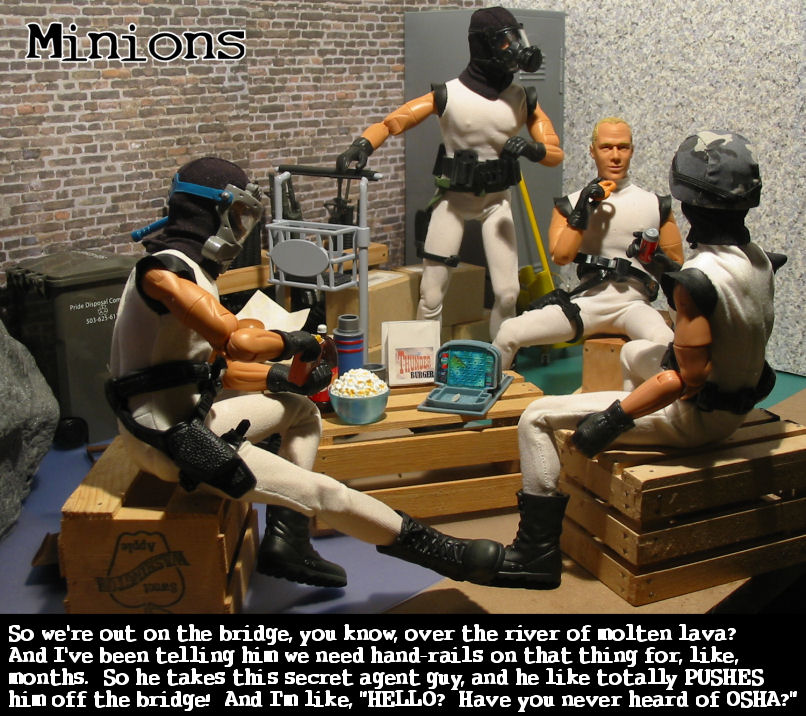
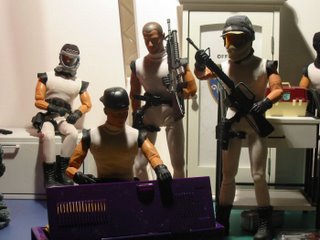
This first example simply uses the on-camera flash. Note that the lighting is very flat, in more ways than one. There's no sense of depth here. The background could be right behind the front characters instead of the foot or so that it really is. There's no texture in the uniforms, and the faces look plastic and artificial. There's also a reflected flare off the glass door in the background. Though you could use something like that as an effect, it's generally not something you want.
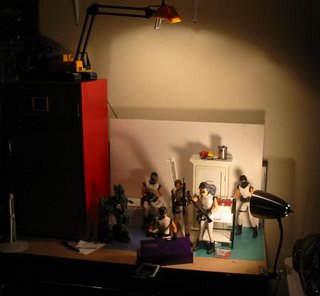
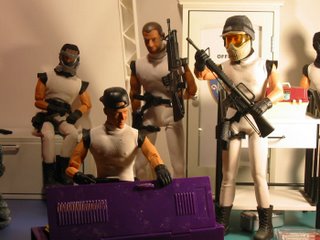
This next shot uses only the high-intensity arm-light, located above and behind the main-figures. This gives us a strong back-light with a lot of soft fill reflected off the white wall and props.
You can see there's a huge difference. Suddenly we have depth. The shadows and reflections make things "pop" as 3-D, and add plenty of drama. Trouble is, the HI light is harsh, making plastic look like plastic, and the position leaves faces in shadow. Maybe we want them in shadow, if these are supposed to be anonymous folks skulking about, but let's say we want to put emphasis on them as characters.
We'll get to that in a minute, but one more thing about this. Notice how the strong "light of god" attracts your attention up to the source of the light. Is there a hole blown in the roof? Is there a helicopter up there? There's a feeling that what's really important here is somewhere else, off-camera. Again, if that's what you want to do, great. If not...
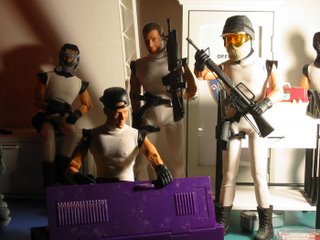
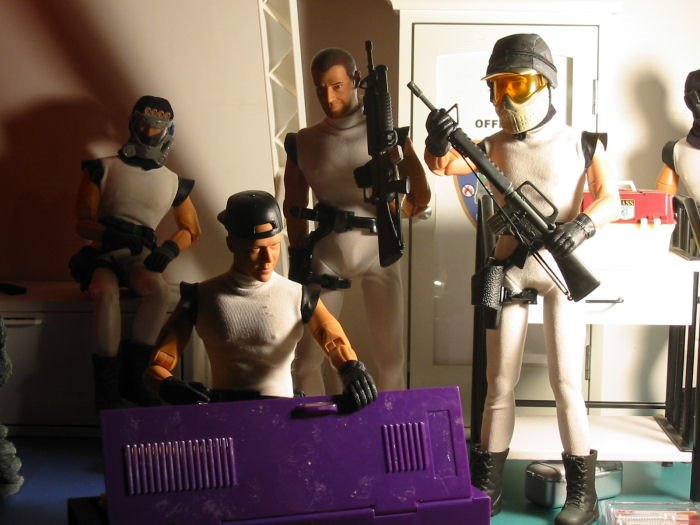
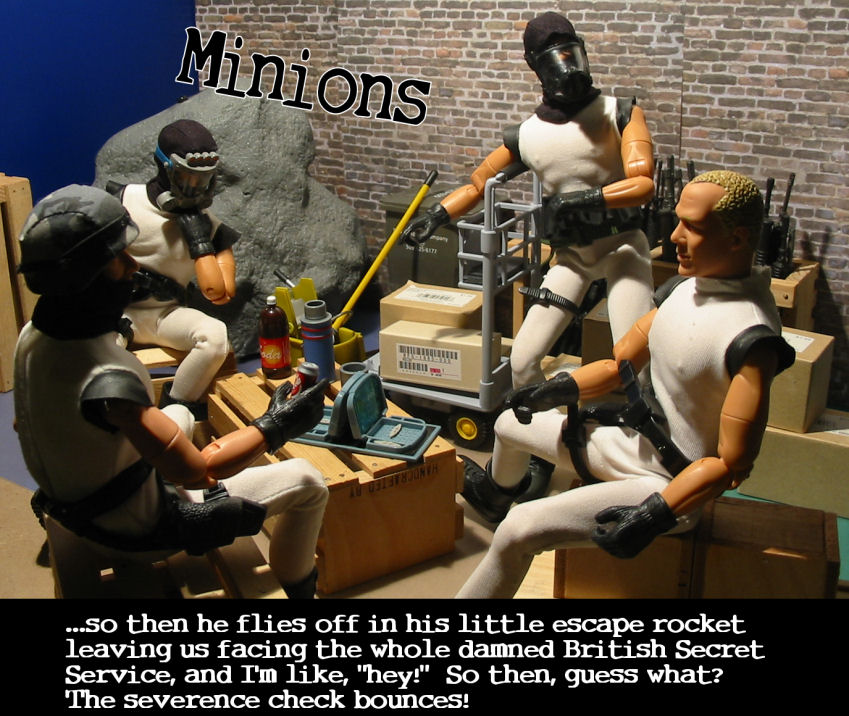
This shot uses only the clip lamp on the right of the bench. Again, depth. Again, dramatic. But this is totally different.
The incandescent bulb is more defuse and warmer than the HI light, making the plastic look less plastic. The faces are not only lit, but the dramatic shadows really add depth, mood, and character to the faces.
Because the light is close and bright though, it "blooms-out" on the right of the picture. It draws your attention, but less-so that the overhead light because your eye is drawn to those faces. Notice too how the angle of the light really brings out the textures in the uniforms and adds to the realism.
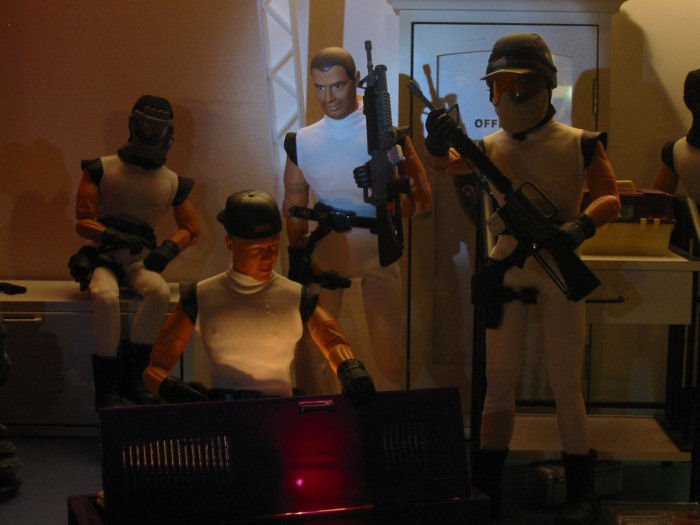
Now we start mixing light-sources. We're still using the clip-light on the right, but now I've turned the overhead HI light on and turned it to shine on the white wall behind it and a white shelf-overhead. The result is a dim, soft, fill-light that is mainly visible in the background and in the shadowed areas.
Notice that the figure in the background suddenly seems more important, and what they guys in the foreground are doing, less-so. It's much less spooky, but this shot still has nice texture and depth. If you were playing for comedy or casual drama, this might be a good setup.
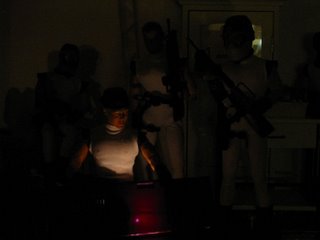
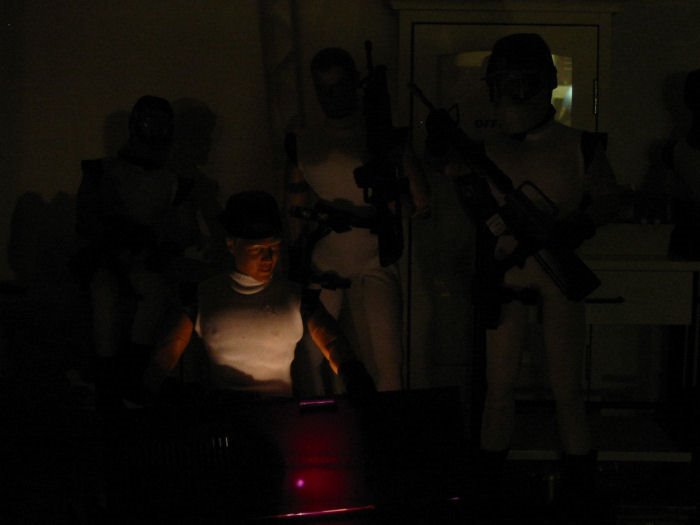
Now we're going to play with two other light sources that I haven't mentioned yet. Here's the first one, a small (two AA cell) incandescent lantern-type emergency light hidden behind the door of the locker. Basically it's a bare bulb with a tiny bit of diffusion. There's also a tiny bit of fill light on the background here, basically reflected lights from the dimly-lit office. The bit of greenish light in the upper right quadrant of the picture is the far wall of the office reflected in that glass door.
Obviously, this puts all the emphasis on the figure opening the locker, though there's just enough light to show you that there are things and people around him.
This is part of why I like time exposure. A light like my little lantern would likely be way too dim for a normal hand-held snapshot.

Now we add one more new light-source, a small single-LED flashlight. It provides a somewhat focused circle of bluish light that suggests it could be coming from an in-the-scene light source, such as a flashlight or spotlight, invisible just off camera.
The flashlight is actually near the camera and just to the side, so the lighting is rather flat. By aiming it low, it reveals the figures behind without drawing undue attention to them (the faces are in shadow).
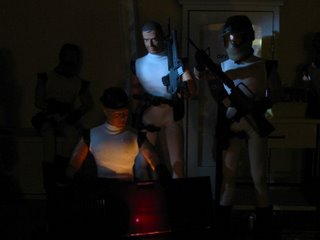
Here's the LED flashlight again, but this time I've moved it off to one side for more dramatic shadows, and aimed it at the face of one of the figures standing behind the lead-Minion. Again, the emphasis shifts to him watching. Is he delighted at what he sees? Alarmed? Is he planning to steal it? Clearly, something is up. The lighting says so.

Finally, we add a soft bounce-fill from the overhead light to the previous elements. The emphasis is still on the two foreground characters, but we're aware of their surroundings (which are far less frightening) and the people around them. Still moody, but far less sense of dread. One nice touch is the variety of colors provided by the different light-sources, though all are what you'd think of as "white" in other circumstances.
So there you go, a lot of different results using some pretty simple equipment that most anyone would have around. This isn't intended to be an instructional feature, just some examples that my inspire you to experiment on your own.