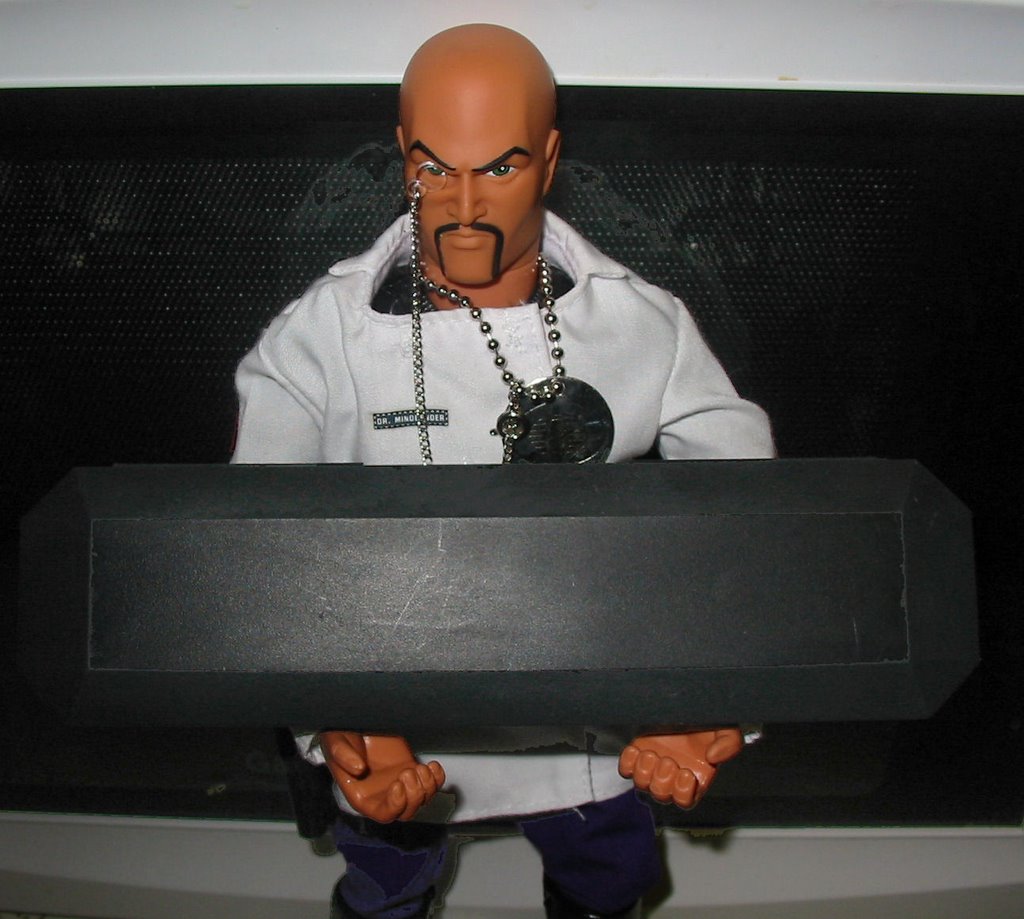
This plastic box showed up at my house a while ago, and immediately got tossed into my Joe project box. It's just a black plastic clamshell box that some kind of ball-point pen came in, and I knew it would have some kind of use.
Okay, black-on-black is not my best choice of photo backgrounds, but to be honest, there isn't much to see. This thing is angular and kind of plain except for the beveled edges. Just a flat box.
Then one night while watching TV, I had an inspiration, grabbed some craft foam, a hobby knife, a pencil, and a box of 1/6th weapons, and went to work. Before the program was over, I had this:
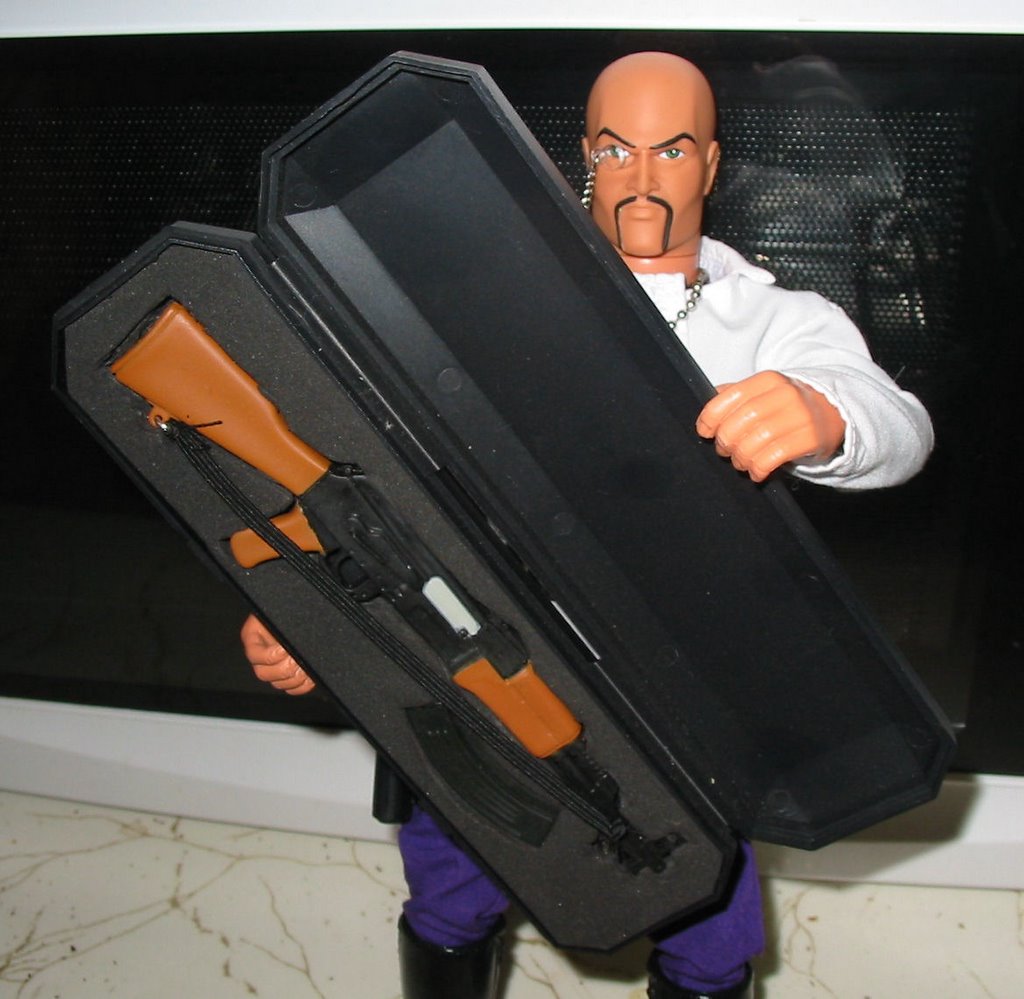
Step-by-step, here's how to make your own fitted equipment case:
Supply list -
Box or other container
Thick craft foam, black or your choice of color (sold at Wal-Mart and most craft stores)
Weapon or gear of your choice
Tool list -
Small hobby knife with a fresh blade (the pointed triangular kind works best for this)
Safe cutting surface
Pencil
Instructions:
1. Cut a sheet of foam to fit tightly in your box of container. If the box is deep, you way want to cut more than one sheet to provide a "filler" layer in the bottom of the box. My example only needed a single layer of foam.
2. Select your weapon(s) or gear to fit the box. Experiment with layout and decide how you want to position them in the box. If you have space, you can make some extra cut-outs for shells, clips, grenades, scopes, accessories, etc.
3. Once you've decided how things should be laid out, hold each piece in place and trace the outline onto the craft foam.
4. Remove the foam from the box. If you have one or more filler layers, set them aside or leave them in the box. You probably just want to cut the top layer.
5. Place the foam on a safe, flat, cutting surface (a plastic or wood cutting board from a kitchen store works well) and carefully cut along the inside of the pencil lines. Don't try to reproduce every detail, and try to err in the direction of cutting the hole too small. The foam will stretch and compress, and you can always trim more later. But once you cut foam, you can't put it back. Try to make a clean cut, and be sure to cut all the way through to the bottom. It will be easier to cut multiple cut-outs if you leave all the "plugs" from the holes in place until all cutting is finished.
6. One-by-one, starting with the largest, remove the "plugs" from your cut outs, and test-fit each item. It should insert easily, but stay firmly in place on its own. If necessary, remove the item and trim to fit.
7. Re-insert the foam in the box. Insert your weapons and gear. You're done!
Use your imagination in applying this. It can be used for weapons, bombs, spy gear, ancient artifacts, communications equipment, alien embryos, you name it. The foam can be in any kind of box or case, a briefcase, or even a Joe-sized picture frame to display some antique pistols on an office wall. You could even create an "armory wall" that displays dozens of weapons for easy selection and access.
Oh, I did say there was a second "easy project" here. If you have a Dr. Mindbender, compare the monocle on mine to yours. As you can see, I've replaced that lame black string with a piece of real chain. I think it's a huge improvement. I just used a piece of jewelry chain and a jump-ring (a C-shaped, bendable metal ring used to hook things up) picked up at a craft store (you can also salvage both items them from dollar-store jewelry). Rather than attach the other end of the chain to his ear (which seemed strange), I just put a necklace clasp on the other end, so that I could loop it around his dog-tag chain and clip it in place. Not a perfect solution, but it works.
Jewelry chain is another one of those very-useful things to have around. You can use it to make chains for ID tags, Jewelry for your Janes and Cy-girls, key-chains, or to cuff a briefcase to your 1/6th secret-agent's wrist. You can make a watch-chain, a chain for someone's glasses, or use it to keep a foot-locker lid from flopping all the way back when you open it. You could even get kinky with it, but I'm not going there. Get some, and a bag of matching jump rings, at your local craft store. Handy to have around.
No comments:
Post a Comment